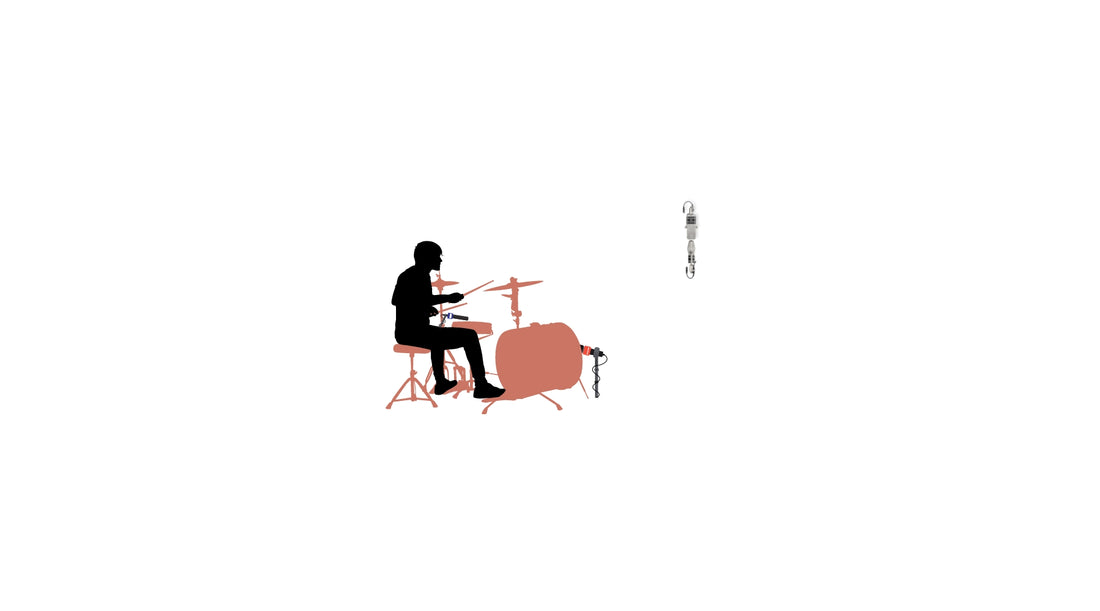
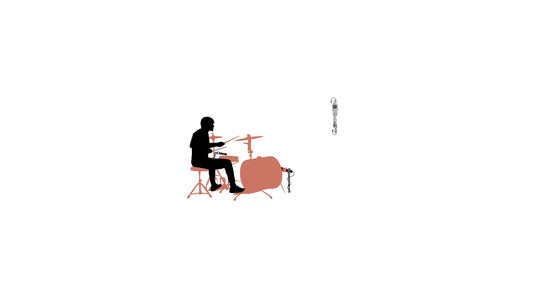
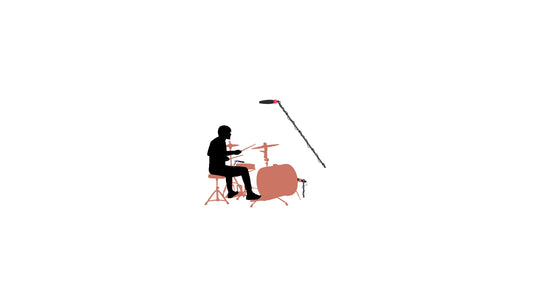
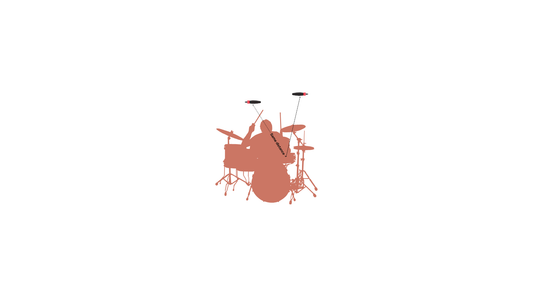
We’re now entering into a different realm: with most of the following techniques you can get good sounding drums for a good sounding mix. Depending on the context, you won’t need anything else. In cases like the “Recorderman” technique (Hazy Malaze—Hazy Malaze (2002)), or the “Glyn Johns Method” (Led Zeppelin—Led Zeppelin (1969)), the final sound of the drums were obtained with these approaches.
That’s not even mentioning the classic overhead pairs + bass drum & snare. The amount of records made with only those 4 mics is enormous.
As always, it depends on the context. If you’re making a hard rock/metal album, you might want to add a bottom snare mic and tom mics. But probably not more than that.
Using multiple mics is not a substitute for using the right mic in the right spot.
4.1. Original Recorderman
As established in the Recorderman technique post, created by Eric Greedy, and used by Eric “Mixerman” Sarafin on Hazy Malaze’s album “Hazy Malaze” (2002) is a 4-mic setup: 2 overheads, a snare mic and a bass drum mic. The trick of this technique is that the overheads are equidistant from both the snare and the bass drum. The logic behind this approach was that if the overheads were equidistant from both the snare and the kick, they would appear dead-center in the mix; while the close-mic provided the necessary boost to kick and snare.
You can check out the story from Sarafin himself here.
One of the reasons why they came up with this approach is because they wanted a dead & tight sound, which the small recording room (Room A of The Village Studios, Los Angeles) helped them to achieve. So, no additional ambience mics were used
Another factor was that Dan Fadel, the drummer, is—according to Sarafin, a “super balanced” drummer. Sarafin adds, “the more the drummer plays in balance, the less microphones you need to capture their brilliance."

Let’s briefly go about the overheads positioning. For more details, please refer to the specific post:
- For overheads, the Original Recorderman uses 2 ribbon mics (Coles 4038 Ribbon Microphones). If you don’t have ribbons, you can use regular condensers.
- Position the first overhead about two drumsticks in height from the top of the snare, and pointed straight down at the snare.
- Position the second overhead—which also has to be the same distance from the top of the snare—over the ride cymbal side of the drummer’s shoulder, and also point it at the snare.
- Measure the distance of the two overheads from both the bass drum and the snare drum. Both mics should be equidistant from the snare and the bass drum, in order to avoid phase issues.
- To make sure both mics are equidistant from the bass drum and the snare, use a mic cable or a long string. Hold the cable end against the bass drum where the beater makes contact with the head. Pinch the cable at the length where it makes contact with the first mic. While holding this position, pinch the other end of the cable at the length it makes contact with the center of the top head of the snare drum.
- At this point the string or mic cable should be in a sort of triangle shape. Move the top point of the triangle – the part you have pinched – to each mic to verify they are both of equal distance from the bass drum and snare.

Front View

Side view. The Mic on the right tends to be a little further back than the right.
And now, for the final touch:
- Add a snare mic, ideally a dynamic mic, 3 fingers from the top head, pointing at the center of the drum.
- Add a mic inside the bass drum (or just outside), in order to avoid bleeding.
With these 4 mics you can have a great sounding kit. Of course, you can add more mics if it makes sense to you. If you saw the video linked in the first paragraph, you’ll notice that Sarafin added a bottom snare mic and an X-Y pair in front of the kit; but that’s more of a “safety net” as he calls it, rather than a necessity.
Pros of this technique:
- Great stereo compatibility, but with the bass drum and snare right in the middle of the mix.
- With the added boost in bass drum and snare, with their respective microphones, you have a lot more control over the balance of the mix.
- Great if you’re looking for a close & tight sound.
- Adjusts very well to small room situations—because it was developed in a small room.
Cons:
- This technique has more of a vintage vibe, which by itself is not a con, but the point is that it is not very versatile.
- If you don’t get the measurements correctly, it can be a hassle to set it up. Make sure that this is the sound you’re looking for. Although, in all honesty, most times people just eyeball it. Just make sure it sounds right.
- The drummer’s balance is key to get it to sound correctly. Even with the bass drum and snare mics, if you’re off balance and recording with only 4 mics, there’s only so much you can do afterwards. Could be a curse or a blessing.
4.2. Glyn Johns Method
Arguably the most discussed, misunderstood and mythical drum recording technique in the history of rock and roll. The technique that first captured John Bonham’s sound.
We've all seen thousands of posts explaining the technique and how it—supposedly—gets you the Bonham sound. But… really?!
Before we move on to the technique, let’s go back to the source: Glyn Johns himself.
Story time: This is an excerpt from the book “Sound Man: A Life Recording Hits with The Rolling Stones, The Who, Led Zeppelin, the Eagles , Eric Clapton, the Faces . . .” by Glyn Johns, published in 2014. He’s referring to the recording sessions for Led Zeppelin’s eponymous debut album from 1969, at Olympic Studios, London:
“It was a complete accident. I usually use three or four mics on drums. One over the top, one on the floor tom-tom, one on the bass drum, and one on the snare, which I very rarely use. Because we were always limited to the number of tracks available back in those days, drums would always be recorded on one track, and depending on the session, sometimes with the bass mixed with them.”
“We had finished a basic track and had decided to overdub an acoustic guitar on it. I took one of the Neumann U67s that I had been using on the drums to use on the guitar, and having finished the overdub, I put it back on the drums in order to start the next basic track. When I lifted the faders to listen to the drums, I found that I had inadvertently left the mic assigned to the track I had been using for the overdub, which I had placed to the far left of the stereo. As the other drum mic was in the middle, it spread the sound to the left.”
“So I wondered what would happen if I put them left and right, and made the small adjustment of pointing the floor tom-tom mic at the snare, making the two mics equidistant from it. The result sounded enormous, with the completely different perspective that stereo brings. It is completely unnatural to have the drums spread across the entire stereo picture, so I panned each track half left and half right, ending up with the technique I have used ever since.”
“There is no question that if I had not been working with John Bonham and the extraordinary sound he was giving me, I would not have spotted it. A prerequisite to this working is that you must have a drummer who gives you a good sound, as well as a pair of Neumann U67s or 47s, or Telefunken 251s.”
Since the 4th microphone is optional, but can be an integral part of the technique, we are listing it under a 4-mic technique, although it is usually cataloged as a 3-mic technique.
With this in mind, a few important things to notice:
-
This approach was only used in Led Zeppelin’s first album. Glyn never engineered for them again. His brother Andy Johns took over until 1971. Maybe other engineers used a similar approach in later albums, but it is improbable. If you’re looking to recreate the drum sound from Led Zeppelin’s “Fool in the Rain” (In Through the Out Door, 1979), these are not the droids you're looking for.
- If you want to know more, here's Jeff Ocheltree, Bonham's last drum tech (previous role was occupied by Mick Hinton), explaining Bonzo's set up, tuning and mic set up for his later records. The mic set up is nothing like the Glyn Johns Method.
- Bonham’s sound was also a product of his unique approach to drumming: most notably, his 26x14 bass drum with felt strips crossing the inside of the drum and no additional muffling, and his jazz-like tuning.
- Also, he was an insanely consistent and controlled drummer. He hit hard, but balanced. Without good balance, there's not much you can do with this technique
- Bonham was on a riser in the recording session, which adds a lot of low end. This has been stated by Johns himself (source here).
- Johns believes that the secret (other than the 2 overheads being equidistant from the snare), are the Neumann U67s or 47s (source here).
- All in all, the Glyn Johns Method is a super interesting technique for vintage sounds. But not very versatile for modern music. Glyn himself has stated this. If you’d like to hear what this technique sounds like in modern hi-fi audio, check out Eric Clapton’s 2016 album “I Still do”, produced and engineered by Johns.

Eric Clapton’s 2016 album “I Still do”, produced and engineered by Glyn Johns.
And last, but not least, the man himself has stated that he only stands by this video of him explaining the technique. The 4:29 mark has the priceless exchange between Johns and a person attending the demonstration:
Attendee: “Do you ever measure distances of the microphones?”
Johns: “No, it’s bullshit”.
Priceless.
Now, to the technique:
- Place an overhead about 3 to 4 feet above the snare drum, facing down, so it captures most, if not all, the drum set.
- Place a second overhead about 6 to inches from the floor tom, above the rim, so that it is approximately equidistant from the first overhead.
- Don’t ask if you should measure to make sure they’re exactly equidistant, you might get Glyn pissed…
- Place a mic inside or just outside the kick, in order to get the best sound possible without any bleed.
- Lastly, if necessary, place a mic on the snare, about 3 fingers from the top head.
Pros of this technique:
- It is very easy to set up. You can get a very good sound with only 3 mics.
- If you sound good and the room sounds good, this should work. If you’re in a very “dead” room, then it might not be a very good choice, the same with very “bright” rooms with a lot of sound bounce and echo.
- Between you and I, use whatever condensers you have at hand and give it a go. A single Neumann U67 microphone is around $7,000. Unless you have $14,000 to play around… As if being a drummer was not expensive enough…
Cons:
- Limited scope for modern sounding music. I couldn’t find any producer or drummer that has used this technique in a professional recording for modern-sounding music. I’m not saying it hasn’t been used. It has—or at least in part. Take for example Greta Van Fleet’s 2018 album “Anthem of the Peaceful Army”, producer Al Sutton uses the Glyn Johns method as his basis, but then adds other mics in different positions (source here). The band’s sound requires a Led Zeppelin vibe, so in that case it is an absolutely valid approach—almost a necessity. But if you’re making a modern metal album, then it might not be for you.
- The drums, the room and the drummer have a lot to do with the sound. This technique can be very unforgiving. If you’re not sure about the drummer’s balance, how the drums sound and the room’s sound, probably not a good idea.

In Greta Van Fleet’s 2018 album “Anthem of the Peaceful Army”, producer Al Sutton uses the Glyn Johns method as his basis.
4.3. 360° (Eric Valentine Method + One In Back)
This approach takes the basic Eric Valentine’s Method, but adds an extra overhead condenser microphone with a cardioid polar pattern pointed at the back of the kit directly over the drummer's head around 5 to 6 feet off the floor, facing the kit. This mic will pick up a sound closer to what you hear when you play, adding a nice balance to the sound of the other 3 front-of-kit microphones.
This approach, which we’ll call 360° (since it makes a circle marked by the 4 mics), would then look something like this:

And here’s the outline:
- Place the 3 font mics (left, center and right) equidistant from each other.
- Place them around 3 feet off the floor. You don’t want to place them too high, otherwise you’ll lose a lot of low-end.
- Make sure you’re pointing them towards their corresponding section of the drum set.
- Place a 4th mic pointed at the back of the kit directly over the drummer’s head approximately 6 feet above the floor (you can go lower, like right above your head).
Pros of this technique:
- A holistic sound of the drums, with great stereo image possibilities with the left & right mics, with a centered mono signal with the center-front and back mic.
- This approach will have more snare and more toms than the Eric Valentine Method.
- If your drums sing, this approach will sing too.
Cons:
- You depend a lot on the room. Dry room, dry sound.
- Your bass drum might still sound a bit dry, so be mindful of that when you EQ this mix.
- Like the Glyn Johns method, your balance determines the final sound. This approach by itself can be very unforgiving.
4.4. Eric Valentine Method + Overhead
This technique has the Eric Valentine approach with a little Glyn Johns. The basis for this approach is the following:
- Place the 3 font mics (left, center and right) equidistant from each other.
- Place them around 3 feet off the floor. You don’t want to place them too high, otherwise you’ll lose a lot of low-end.
- Make sure you’re pointing them towards their corresponding section of the drum set.
- Place an overhead about 40 to 50 inches above the snare drum, facing down, so it captures the entire, if not all the drum set.
- Make sure each microphone is equidistant from the snare.

Pros of this technique:
- A holistic sound of the drums, with great stereo image possibilities with the left & right mics, with a centered mono signal and the overhead.
- A lot more drums and snare, given that the overhead is pointing downwards, just like the Glyn Johns method.
Cons:
- Your bass drum might still sound a bit dry, so be mindful of that when you EQ this mix.
- With this approach, the sound relies heavily on the drummer’s balance and the room’s sound.
4.5. Stereo Overheads Bass Drum & Snare
As explained in the opening of this post, the amount of records made with these classic overhead pairs + bass drum & snare is enormous.
But, as we’ve repeated several times throughout this book, please be mindful of the musical context. For example, if you’re making a metal album, you might want to add more mics (like a bottom snare mic, tom mics and even an additional bass drum mic). Make sure you have what the music needs
Since we already went through all the stereo overhead techniques and bass drum & snare miking setups, in the following sections we’ll provide a simple explanation and setup graphics.
4.5.1. X-Y, Bass Drum & Snare
Set up your stereo overheads in an X-Y configuration, place a microphone inside the bass drum (or just outside), to avoid additional bleeding; and a (preferable) dynamic mic on the snare, about 3 fingers from the top head.

4.5.2. ORTF, Bass Drum & Snare
Set up your stereo overheads in an ORTF configuration and place a microphone inside the bass drum (or just outside), to avoid additional bleeding; and a (preferable) dynamic mic on the snare, about 3 fingers from the top head.

4.5.3. Wide Stereo Overheads/NOS, Bass Drum & Snare
Set up your stereo overheads in an WSO/NOS configuration and place a microphone inside the bass drum (or just outside), to avoid additional bleeding; and a (preferable) dynamic mic on the snare, about 3 fingers from the top head.

4.5.4. Spaced Pair (Or AB), Bass Drum & Snare
Set up your stereo overheads in an Spaced Pair/AB configuration and place a microphone inside the bass drum (or just outside), to avoid additional bleeding; and a (preferable) dynamic mic on the snare, about 3 fingers from the top head.

4.5.5. Mid-Side Technique, Bass Drum & Snare
Set up your stereo overheads in a Mid-Side configuration and place a microphone inside the bass drum (or just outside), to avoid additional bleeding; and a (preferable) dynamic mic on the snare, about 3 fingers from the top head.
You can move the Mid-Side mics pair around—as long as they're centered to the drum set, of course. Maybe go a little further away from the drums, to get more room, or move closer to get more detail. Play around, see how it sounds.

4.5.6. The Blumlein Pair, Bass Drum & Snare
Set up your stereo overheads in a Blumlein Pair configuration and place a microphone inside the bass drum (or just outside), to avoid additional bleeding; and a (preferable) dynamic mic on the snare, about 3 fingers from the top head.
You can move the Blumlein Pair around. Maybe go a little further away from the drums, to get more room, or move closer to get more detail, or use it as traditional overhead mics. Play around, see how it sounds.


