Recording a bass drum is tricky. It’s larger than the other drums, it moves a lot of air, it’s on the floor, and you need to capture the low end frequencies.
There are—generally—3 approaches to miking the bass drum, which can all be combined:
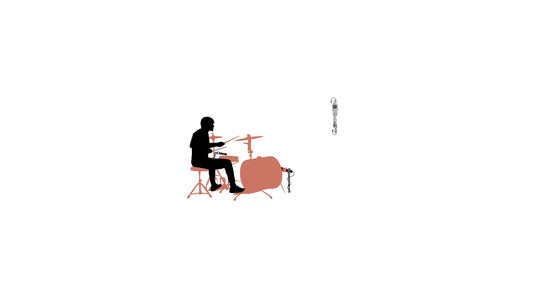
- Miking the front of the bass drum.
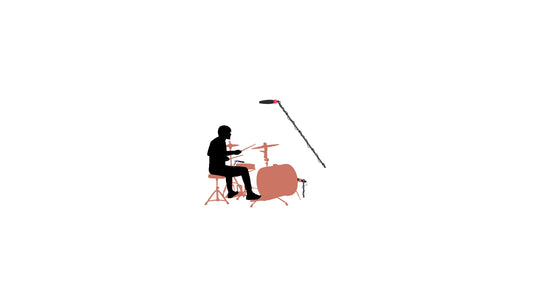
- Miking inside the bass drum.
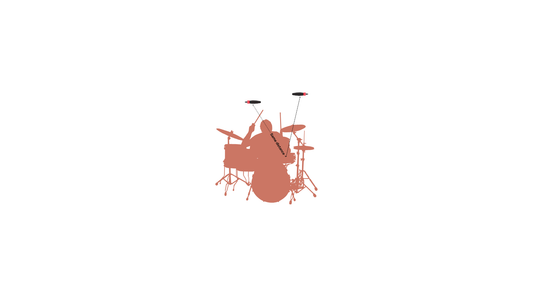
- Miking the back of the bass drum (next to your pedal).
Let’s go briefly though each one of them:
Miking The Front Of The Bass Drum
The most common approach. This approach gives a fuller, more rounded sound of the bass drum.

When miking the front of the bass drum have the following in mind:
- One of the most common microphones for bass drums is the AKG D112, a cardioid dynamic microphone, or a Shure Beta 52A—a supercardioid.
- If you’re recording styles like rock, pop or country music, you might want to have a resonant head with a hole in it, or—sometimes—just remove the resonant head. But in situations like recording a jazz trio, a full resonant head is usually the way to go. See what works best for your particular style of music.
- Place the mic about 4 inches from the center of the drum. It can be closer or further, depending on how hard you play your bass drum.
- The closer you place the mic to the front of the bass drum, the more definition you’ll have, but the less low-end it will pick up. So, the further away from the front of the head, the more low-end, but less definition. Test what works best for your intended sound.
- Also, the closer you place this mic to the bass drum, the less bleed from the rest of the drum set. On the contrary, the further you go, the more bleeding you’ll get.
- Given that the bass drum is not as loud as the rest, if you crank up the volume of this mic in the mix, the bleed of the drum set can make the overall sound out of whack.
One way to boost the low ends and isolate the sound of the rest of the kit is to create a sort of tunnel, usually made out of blankets, out of the bass drum with the microphone placed inside of it.

Blanket bass drum tunnel. Photo credit: reddit.com/user/DVNT_Pinkie/
Miking Inside The Bass Drum
The other common approach, and depending on who you talk to, the most common one.

Placing the microphone inside the bass drum has a number of benefits:
- Less bleed from the rest of the drum.
- More clarity and definition.
- More control of the sound.
Placing a microphone inside your bass drum can generate a lot of sound reflections and vibrations when recording. In order to avoid all that, consider the following:
- Add some type of muffling. Just how much and what type will largely depend on what type of sound you’re looking for.
- For a short, attacking sound, you want more muffling.
- For a more natural sound, less muffling.
- The deeper inside the drum (closer to the beater), the brighter, less low frequencies and more attack.
- The further from the batter head you go (towards the front of the bass drum), the more natural sound, the more low frequencies and less attack.
There are many options for muffling your bass drum:
- Sound Absorbing Foam.
- An old blanket.
- Clothes.
- Pillows.
- Or, specially designed products, like the KickPro Weighted Gripping Bass Drum Pillow.

There are no “right” or “wrong” muffling materials, as long as they work.
In terms of miking, there’s usually 3 ways to do it:
- Place the microphone just outside where the resonant head would be—or in case you have a head with a hole, just outside the hole, with the mic poking in.
- Place the microphone inside the bass drum with a telescoping boom mic stand.
- Put a microphone inside the drum, laying on top of the muffling material:

Shure Beta 91a Inside Bass Drum.
Miking The Back Of The Bass Drum (Next To The Pedal)
Before we go into detail with this approach, 2 very important things to note:
- This technique is—almost exclusively—done in conjunction with any of the previous 2. Miking your bass drum only from the batter side doesn’t make much sense in general. If you want to get experimental, by all means, go ahead.
- Make sure your bass drum pedal is squeak-free. Having a microphone next to a squeaky pedal can ruin your recording.


Place the mic as close to the pedal as possible
Miking your bass drum batter head will inevitably produce an attacking sound, with not much low-end frequencies and probably a lot of brightness (if you play with plastic or wooden beaters, probably even more).
Another important thing to notice is that—given the placement of this mic—you’ll probably get a lot of bleed from the snare wires of your snare drum. As we have discussed, be mindful of what each additional mic adds to the mix and what it subtracts from it (or what new problems it can create).
So, when you’re miking the bass drum from the back, have the following in mind:
- Choose a directional dynamic microphone—like a supercardioid or hypercardioid—like the Shure Beta 52A.
- Place the mic as close as possible to the point of impact.
Mixing These 3 Techniques
Front And Inside Microphones

The usual approach would be:
- Place the inside microphone first and get the best sound possible:
- Place it several inches inside the front head.
- Point it towards the beater.
- See how it sounds and adjust accordingly—move it back and forth to get the sound you’re looking for. This mic will get most of the sound, so it’s important you get the sound right before moving on.
- Add the outside microphone, probably around 8 inches from the front head—but as always, see what works best for you. This microphone will provide the ambience and complete the bass drum sound.
- As before, remember that the further away from the kit, the more ambience—and probably more bleed—and the closer, the less low end.
- If when adding the outside mic you notice that the low frequencies have been reduced, try reversing the polarities on this second mic.
- Make sure they sound good together. Otherwise, what’s the point?
Front And Back Microphones

The usual approach would be:
- Place the front mic first, around 4 inches from the center of the drum.
- Move back and forth until you get a sound with the oomph, definition and low-end you’re looking for.
- Add the back microphone as close as possible to the point of attack (where the beater hits the head).
- Be mindful that the front mic will own the majority of the sound, while the back mic—placed next to the beater—will have the main responsibility of capturing the attack and provide some crispiness to the sound.
- Make sure both microphones sound well together. You‘ll probably want a harmonious bass drum sound.
Inside And Back Microphones

The usual approach would be:
- Place the inside microphone first and get the best sound possible:
- Place it several inches inside the front head.
- Point it towards the beater.
- See how it sounds and adjust accordingly—move it back and forth to get the sound you’re looking for. This mic will get most of the sound, so it’s important you get the sound right before moving on.
- Add the back microphone as close as possible to the point of attack (where the beater hits the head).
- Be mindful that the inside mic will own the majority of the final sound, while the back mic—placed next to the beater—will have the main responsibility of capturing the attack and provide some crispiness to the sound.
- Make sure both microphones sound well together. You‘ll probably want a harmonious bass drum sound.
- Want to hear the difference between inside and outside mic? This video might help.
Front, Inside And Back Microphones

Now we’re getting fancy. If you want to go with the 3 techniques:
- Start with the inside microphone.
- Check how that sounds and adjust accordingly.
- Add the front microphone, start at around 5 inches from the center of the drum.
- Check how that sounds and adjust accordingly.
- Add the back microphone, as close as possible to the center of attack.
- Beware of what this 3rd mic adds to the mix, especially with the addition of attack and brightness.
- Choose which of these mics will provide the lion’s share of the sound. It will probably be the inside microphone, so make sure that the other 2 add to this first “main” microphone.
- Of course, it is possible that the sound could be a mix of the three, or a main mix of 2—not ruling that out at all—but have somewhere to start and benchmark from, and add while it makes sense to do so.


