We will examine Eric Valentine’s approach to drum miking in Queens of the Stone Age 2002’s album “Songs for the Deaf”, featuring Dave Grohl on drums and—arguably—one of the best drum sounds ever.
A few key aspects to the drum sound:
- Dave recorded the drums and cymbals separately! Electronic cymbal pads were placed instead of cymbals, so Dave could record the drums but listen to cymbals while they made the initial pass through of the record. Once the drums were recorded and the band was happy with the songs, they muffled the drums and recorded the cymbals.
- Most of the drums for this record, including “No One Knows”, “First it Giveth” and “Song for the Dead” were tracked in a 8’ x 12’ isolation booth with high ceiling (16’), curtains and cork on the walls and carpet on the floor. So, a pretty “dead” room, but with a high ceiling.
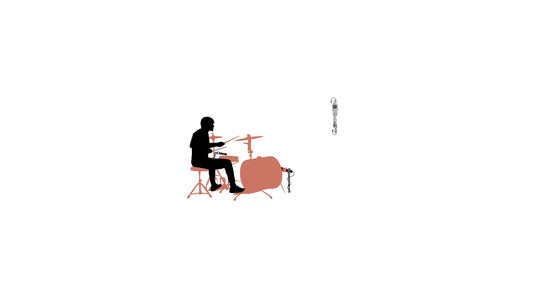
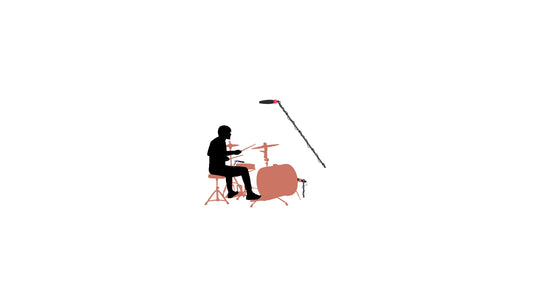
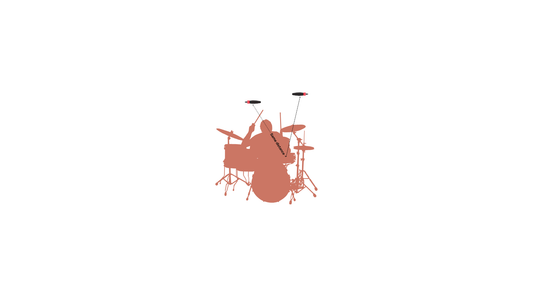
- Valentine placed 2 Sony C37A’s (a Multi-Pattern Tube Condenser Microphone) high on the ceiling, to capture the best ambience possible. That’s another reason why the drums sound huge. In the words of Valentine:
"I used a pair of Sony C37A microphones for room mics. They were positioned up high—maybe about 12' up. I would just move them around in the room until they both sounded balanced between the bass drum and the snare and were roughly equal distances from the snare drum."
With this, you start to get the gist of the drum sound:
- The drum room had a very high ceiling.
- Lots of room mics were used. 5 to be exact: 3 closer to the drums—as detailed before—and 2 ambience.
- Drums and cymbals were recorded separately.
So, let's break down this 5 room mics approach:
- AKG C12A for the left side of the kit.
- Neumann CMV3 for the center of the kit.
- AKG C12A for the right side of the kit.
- Sony C-37A as an ambience mic, placed high on the room left.
- Sony C-37A as an ambience mic, placed high on the room right.
Here’s the outline:
- Place each mic (left, center and right) equidistant from each other.
- Place them around 4 feet off the floor. You don’t want to place them too high, otherwise you’ll lose a lot of low-end.
- Make sure you’re pointing them towards their corresponding section of the drum set.
- Place an ambience mic around 12 feet high (depending on your room), on the left side of the kit.
- Place an ambience mic around 12 feet high (depending on your room), on the right side of the kit.
- Move them around in the room until they both sound balanced between the bass drum and the snare and are roughly equal distances from the snare drum.
- Make sure there’s a relationship between the height of the left/center/right mics and the ambience mics, in order to ensure phase-coherence. In this case, if the left/center/right mics are at ~4 feet off the floor, then the ceiling ambience mic is at ~12 feet, which maintains the 3:1 rule.

Pros of this technique:
- A holistic sound of the drums, with great stereo image possibilities with the left & right mics, but a centered mono signal with the center-front.
- Big drum sound, with natural reverb coming from the 2 condensers high on the ceiling.
- If your drums and room sing, this approach will sing too.
Cons:
- You depend a lot on the room. With the high ceiling mics, you might want a more “dead” room than a “bright” one. You don’t want sound waves bouncing off the walls and ceiling.
- Your balance determines a lot. This approach by itself can be very unforgiving.
- The bass drum and snare might need a bit of boost. The bass drum in particular might sound a bit dry, given that you’re not capturing it directly.


